Showing posts with label Vegan Recipes. Show all posts

Wednesday, November 19, 2014

Moong Dosa/Pesarattu (Moong dal ka cheela)

Moong is one of those legumes from the entire legume family considered healthy and easy even for a 6 month old baby. We all know that a  restorative a rejuvenating diet,more often than not, consists of Moong Dal Khichdi! Yes, easy and light for the tummy, yet yummy and flavourful!
This Moong dosa / Pesarattu is a traditional Andhra recipe. 
Coming to the north-indian variation of the humble Dosa - the Cheela, is usually prepared with skinned, yellow split moong dal. Here in my recipe, I have used whole moong, that give a wonderful green colour to the dosa, which also means since its not been skinned, we have more fibres in this meal. 
I would equally relish the "Cheela" as much as the "Dosa", though!

The best part about this dosa is that it requires only soaking and not the regular fermentation like regular dosas. That makes it an easy breakfast item, which is yum and healthy.

This whole moong dosa tastes heavenly when topped with onions and pairs very well with Coconut chutney.


Ingredients: 

For the Dosa batter:
Whole Moong - 1 cup (soaked overnight and drained) 
Green chillies - 3-4 nos (adjust to taste) 
Salt - to taste
Water - 1/2 cup

For the Dosa: 
Asafoetida - 1/2 tsp to be mixed into the batter
Turmeric - 1/2 tsp to be mixed into the batter (this gives a lovely colour to the dosa) 
Finely chopped Onions - 1 no.
Cumin seeds - 2 tsp 
Oil - 4-5 tsp 


Method: 

  1. Take the ingredients for the dosa batter and grind them in the food processor. Add water in small measures as you grind. The batter should not be too watery. You may leave it slightly coarse in texture if you like, or you may fine grind it. 
  2. Pour the batter into a bowl, add the turmeric and asafoetida and mix well.
  3. You could keep this for 30 minutes or even start making Dosas right away. Moong is best consumed fresh, So take care to grind only enough quantity of Moong for the batter as much as needed. The Moong can be tied up for sprouting incase if you feel its excess. 
  4. Heat a Cast Iron gridle(tawa), a non-stick one also will do. and lightly grease it with oil. 
  5. Spread a ladle full of batter on thr gridle and sprinkle cumin seeds and onions. Drizzle some oil on the periphery of the dosa. 
  6. Flip it after two minutes, and let the other side brown a bit. 
  7. Moong Dosa / Pesarettu is ready!
  8. This goes well with Chutney Pudi or the humble Coconut Chutney!


Saturday, November 1, 2014

Red Lentil Salad

Red Lentil Salad


The festivities are over and the air is crisp. Offcourse, the festivities have left behind lots to shed off ;-), and making us look forward to the next year! 
What better time for the shedding off than Winter? 
Winter,for this reason, happens to be my favorite season, as all winter vegetables and greens are available in plenty and are reasonable. 

I wanted something light for the tummy for dinner and this Red Lentil Salad crossed my mind. This salad involves a little of preparation, but, its totally worth it. 
Salads are typically flexible, so you can add in whatever suits your taste as long as ingredient doesn't cancel out the effects of another. Yes food combinations are a thoughtful subject, but I leave this here. 

This salad is perfect as a wholesome dinner, as there are lentils and loads of veggies. 


Red Lentils - Picture Source - Internet

Here is what I used: 

Red Lentils (Masoor) - 3/4 cup 
Fresh Spinach Leaves - about 15
Capsicum, Carrot, Onion, Cucumber, Tomato - 1 each - finely chopped
Cabbage - finely shredded - about a handful 
Chilli flakes - 1 tsp
Walnuts - 4-5 chopped
Rock Salt - to taste 


Directions: 


  1. Soak the red lentils for 6 hours.
  2. Boil 1/2 a cup of water (about as much as is enough to cover the lentils completely). Let this boil for 10 minutes
    This is what the boiled lentils look like
  3. Take this off the flame and allow to cool. 
  4. Transfer the lentils into a bog mixing bowl.
  5. Mix in the vegetables, chilli flakes, Salt and walnuts. 
    Chopped Vegetables
  6. Chill in the freezer for 10 mins. 
  7. The yum Salad is ready to serve.


You can zing this up with a dash of lemon juice.
Like is mentioned earlier, you can add other vegetables like Beet Root, Yellow and Red Bell peppers, Red Cabbage...


Sunday, September 21, 2014

Garlic Groundnut Chutney

An easy chutney recipe that is done in under 15 minutes!! 

Surprised?? 

Well, this really gets done in under 15 minutes, given that you have some of the basic ingredients ready. 
At my home, we always have roasted and powdered ground-nuts ready. We use tis powder in other wet chutneys and some other preparations. 

The roasting, cooling, and skinning the ground-nuts is a time consuming process. The roasting should be done uniformly on medium flame. This is something you cannot hurry with. If the nuts have been roasted well, the skinning becomes an easy job. the nest step is to separate the skin from the nuts. 
We do small batches frequently, hence doesn't take too long. 

And groundnuts are a healthy vegetarian source of protein. So this is a must have. 

The dry chutney is really simple to make. 

What goes in: 


Roasted powdered groundnuts - 8 tbsp  
Garlic cloves - 8 - chopped into two 
Cumin seeds - 1/2 tsp 
Red chilli powder - 2-3 tbsp 
Salt to taste 


Directions

Take everything in a mixer bowl and pulse till fine and everything is mixed.Keep checking, as groundnuts could get oily if you pulse for a longer duration and you will ave an ioily mass instead of a fine dry powder.   Adjust the chilli powder and salt to suit your taste.

The dry chutney powder is ready.

This can go with Corn Dhoklas, Regular Khaman, Dhokla, on Bread, inside Roti Roll, Aloo Tikki, Vada Pav, Vegetable Fritters, Methi Paratha - with just about anything! 

Enjoy!

Tuesday, July 15, 2014

Eggless Healthy Cake

What do you do when one side of the brain tells you Flour( and processed food of any type)  is not good for health and, the other side pinching the hunger zone, telling you to somehow have the healthy cake, linking it to the picture you saw on social media a couple of days ago? 
Well to cut the long sentence short, what I did was I baked that cake! 


I am an aware and healthy eater. And, no, I am not choosy or picky to the bone, but I know I will be what I eat. So I choose to eat healthy. Simple. 

This wheat flour cake was inspired by a social networking picture bosted by a member on a group. And it was enough to let my imagination take over. Offcourse, this friend was kind to share what she had used. And once you enjoy cooking/baking, you are sure to try out different combinations all by yourself. And sometimes, kitchen experiments do give out reasonably good results! Definitely satisfying ones :-) This cake was one of them :-) 

Let me share how I made this healthy cake. I was trying out with a small quantity. I would recommend you too first try out a small quantity. This recipe is for a small 6" baking pan. 


What went in:

Over ripe Bananas - 3 ( I used the small elaichi variety) 
Whole wheat flour - 3/4 cup
Thick curd - 1/4 cup ( a little sour is better) 
1/4 - 1/2 cup powdered jaggery ( you may want to add a little more)
flax meal - 1 tbsp ( mixed with 3 tbsp water and kept aside) 
Vegetable oil - 3 tbsp 
Oats - 2 tbsp 
Baking Soda - 3/4 tsp 
Cinnammon powder - 1 tsp
Salt - a pinch 
Chopped dry fruits - 3/4 cup ( Figs, dates, raisins) 
Water - 4-5 tbsp 

(For a vegan option, add 3 tbsp oil and 3 tbsp water) 


How I made it: 


  1. Preheat the oven at 180 degrees, grease and dust the pan.  
  2. Take some warm water in a bowl and soak the chopped dry fruits for some time.
  3. In a bowl take the wheat flour, baking soda, cinnammon powder and sift once. Then mix the oats and salt. Mix thoroughly Keep aside.
  4. In a big mixing bowl, mash the bananas. Add the curd, jaggery, the flaxmeal- water mix, oil and mix all this well till it is smooth and even. You might want to add more jaggery if you prefer this sweet. If you are fine with using white sugar in this recipe, you may use it. 
  5. Slowly add the dry ingredients to the wet mixture in batches of 3 tbsp each, at a time. Mix the contents well wit a gentle folding motion till you do not see any traces of dry ingredients. Repeat till all the contents are mixed well. Do not overmix. 
  6.  Strain the soaked contents and keep the water aside. Add the soaked raisins to the cake batter. If you find the batter too thick, add some water. 
  7. Pour this in the greased pan, tap the pan, and bake for 40 minutes. 
  8. You might want to cover the top with an aluminium foil with slits on the top to prevent the top from burning. 
  9. Bake till the cake passes the skewer/tootpick test. Once its done, turn off the oven and let it be in the oven for 10 mins. 
  10. Let it cool for another 5 minutes after you take it out. Invert and let it cool on a wire rack. Enjoy.

Additional Gyaan: 

  • Curd + Baking Soda is an egg replacer, 1 tbsp flaxmeal in 3 tbsp of water is an egg replacer for one egg, 1 cup milk + 1 tbsp vinegar is an egg substitute. 
  • I have also read that mashed ripe bananas work great as egg substitutes. 
  • I used three of the known egg substitutes. This made the cake too crumbly, nevertheless the taste was great. You might try with any one only. In other substitute, make sure you add 1/2 tsp baking powder. 
  • You might add walnuts in the batter for a nutty flavour. ( will be trying this one soon ) 
  • Cutting out curd makes this a vegan recipe. 

Sunday, July 6, 2014

Hot and Sour Soup

Who doesn't like the tangy Indianised Chinese hot and Sour Soup that is so popular? 

I still doubt if the Chinese ever prepare that variation, but I am sure every Indo-chinese food loving loves this spicy sour soup! 
I prepare it with a mix of veggies (popular in the indo-chinese food), and in goes a good quantity of the spice lending humble garlic, ginger and chilli.
It is simple to make, and filling in itself. It can make up for a meal ( for the weight-watchers) or can be followed by sumptuous Chinese Fried Rice. (The recipe shall follow) 

What goes in: 

Finely Shredded cabbage 1/4 cup
Finely shredded cabbage 1/4 cup
Shredded capsicum - half of the capsicum
finely chopped garlic - 1 tsp 
Finely chopped green chilli - 1 tsp 
Finely chopped / grated garlic - 1 tsp 
Salt to taste
Oil/Butter - 1 tsp 
Corn flour - 2-3 tbsp 
Soya Sauce - 2 tbsp
Water or vegetable stock - 4 cups
Vinegar - 1 tsp 


How you make it: 


  1. Take a big pan and heat the oil/butter.
  2. Add the Chilles, garlic and ginger. Saute it for a bit, watch that the garlic doesn't brown. (Browned garlic lends a different flavour, which is quite indian) 
  3. Put in the shredded vegetables and add some salt. This will moisten the veggies and they'll start to cook. You do not want to overcook them, soup is always better wit crunchy veggies. 
  4. After about 5 minutes of sauteeing, add water and bring to a boil. You can add as much water, as the number of soup takers. this means you will have to adjust the veggies. 
  5. Add the soya sauce, and then add salt. Soya sauce contains some salt, so you would want to taste first and then add the salt. 
  6. Bring to a good boil. 
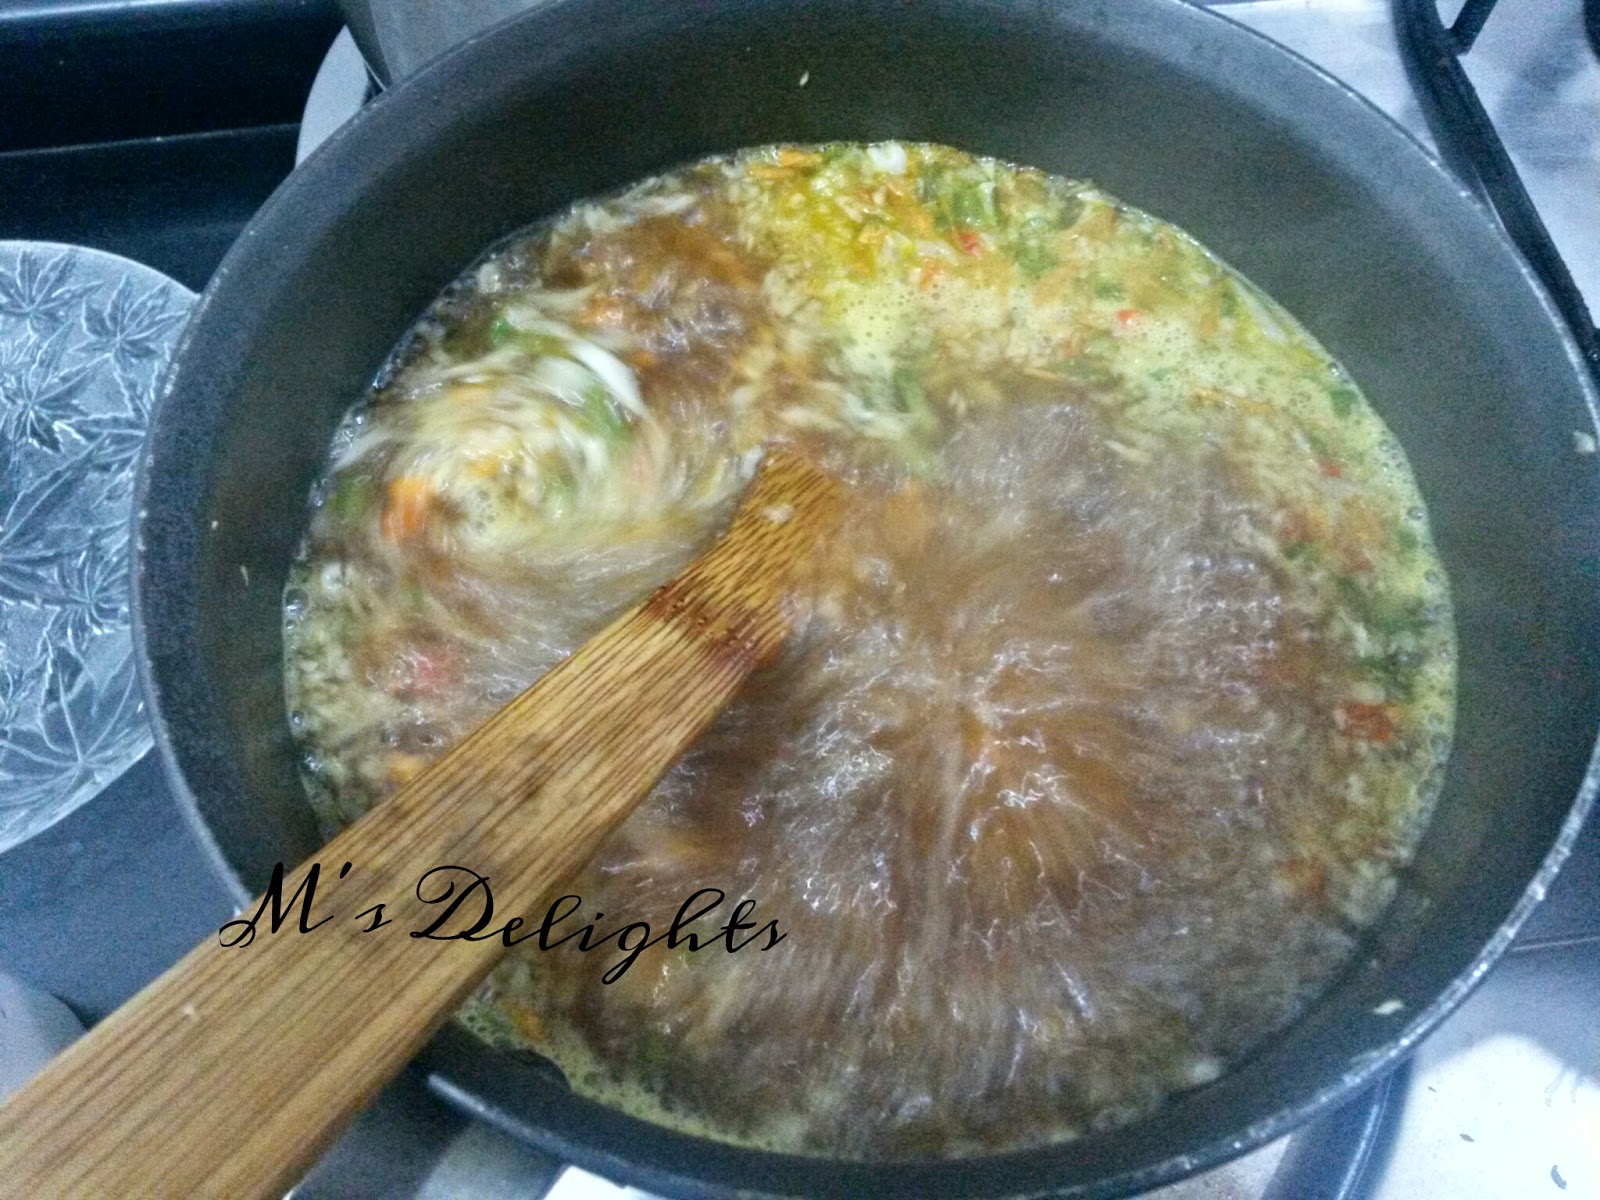
  7. Take a small bowl and mix cornflour with 3-4 tbsp cold water. Put this mix into the boiling soup. in about a minute, you will see that the soup has thickened. Check the thickness. You may want to add more of the cornstarch to have a thicker soup. 
  8. Mix in the vinegar and turn off the stove.
  9. And the hot and sour is ready. Enjoy!!!


Some gyan: 

  •  If you would like Clear veg soup, leave out the soya sauce and vinegar. Moderate the chilli, cut out the garlic and ginger. Add a handful of green peas, and serve with a dash of lemon and coriander. Clear Veg soup is not very spicy. 
  • Vinegar/lime juice should be mixed after the soup boils and after you turn off the flame. 


Monday, June 30, 2014

Eggless Chocolate Cupcakes

Eggless Chocolate Cupcakes

It was Sunday afternoon, and I wanted to bake! Just to bask in the joys of baking! As I am no sweet-tooth. 
I also had been looking up YouTube videos for Cake Frosting. So there it was! A perfect reason to sum up the baking itch that didn't let me give in to the ritual Sunday afternoon siesta! But, no regrets, the Cupcakes were yum, and the frosting was just okay. But, I'm learning, and this is just the start! Did you read between the lines... that this means I will bake often, meaning I will sin often, to polish those frosting skills..., which honestly, need improvement! ;-)

Here is the recipe I adapted from a Facebook group friend. 

Ingredients: 
1 1/2 cups plain flour
1 cup fine sugar
4 tablespoons cocoa
1 teaspoon bicarbonate of soda
1/2 teaspoon salt
1 cup water/1 cup coffee(room temperature)
1/2 cup vegetable oil
2 tablespoons white vinegar/malt vinegar (room temperature)
2 teaspoons vanilla extract


Method

1. Combine dry ingredients in a bowl and sieve twice.
2. Combine wet ingredients very well.
3. Gently fold in the flours in three separate batches and mix till all ingredients mix well. You can use a spoon/spatula/hand whisk to mix, a beater is not needed. Do not overmix.
4. Pour mixture into a cupcake tray lined with liners. Bake at 170°C for 12-15 mins.

5. The cupcakes are ready when a toothpick inserted in the centre comes out clean. 
6. Cool the cupcake completely before frosting.

For all the vegans out there, this is a yum chocolate cupcake to soothe the sugary pangs!


Notes

- Overmixing is not good for cake and cupcakes. So, do not overmix.
- After all ingredients are combined, the mixture becomes a bit thin and certainly doesn't look the ribbon-like consistency. Do not worry with this, the end results are a super moist and soft cake.
- The same ingredients, with a little less of the water, might work well for a microwave recipe too. 
- 


For the Frosting

( I needed to frost 6 cupcakes, and this was my first attempt, so I have used a minimal quantity. For larger quantities, just double the ingredients) 

1/4 cup butter (at room temperature) [I used home-made butter]
1/2 cup powdered sugar
1 tsp Vanilla Essence
1 tbsp Cocoa for chocolate frosting (you can take more if you want the frosting to be more chocolatey)

Method

1. Beat the butter well until light and creamy. 
2. Add the vanilla essence and the powdered sugar. Beat this well with an electric beater. 
3. Buttercream is ready. 

Notes:
- I found the Buttercream too sweet.(I am not a sweet-tooth) I could have added some salt, which may have given the buttercream a better taste
- I am looking for a less sweet recipe, and instinct tells me that adding cornflour might help, though I do not know the exact proportion and the resultant taste. Will try it out someday. 
- I used home-made butter as it is unsalted and white in colour, ideal for vanilla frosting. Maybe market butter would have worked well too, considering that the amount of sugar needed is double, and would not leave any trace of the yellow tinge. 
- Adding cocoa for chocolate frosting certainly reduces the sweetness quotient. 

If Buttercream isn't for you, Chocolate Ganache Icing with sprinkels would be the best! Well, leaving out Chocolate was never an option, was it? ;)